Foundation season is here, and pouring concrete doesn’t leave much room for guesswork. Ted’s has run this equipment for over 50 years, so here’s how a foundation job actually comes together, step by step, and what to grab from Ted’s for each one.
Step 1: Break Out What’s In The Way
Before you can even dig, you might have an old sidewalk, driveway, or wall to clear, or rock and roots to get through. This is the step that eats your morning if you show up with the wrong tool, so match the breaker to what you’re actually breaking.
HM1812 Makita 70 lb. Jackhammer
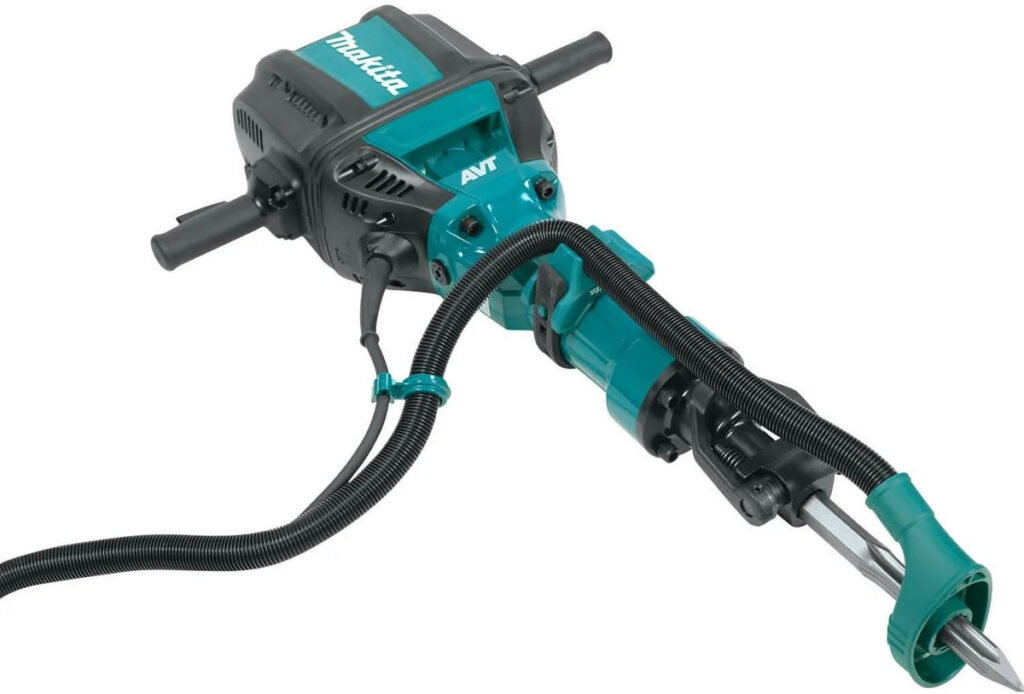
This is your go-to for breaking a wall apart to put a new one in. It’ll break up sidewalk or driveway before the new pour goes in, and it’s the tool for breaking up rock or roots before you dig out a foundation. At 70 lbs, it’s got the weight behind it to get through old, cured concrete without you standing there all day. If you’re clearing by hand instead of with an excavator, this is the one you want on site.
Excavator Mounted Jackhammer: Toku TNB-2M
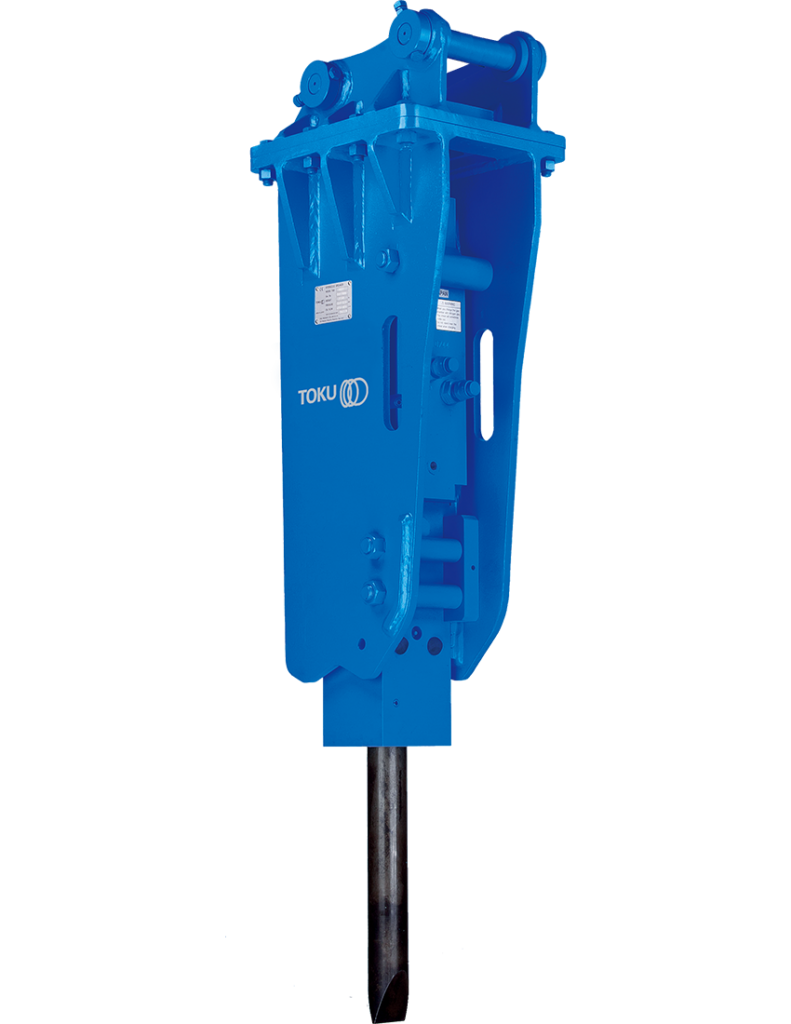
Fits on the Kato 17 Excavator, also available in stock at Ted’s. Some jobs don’t leave room for hand-breaking, whether it’s bigger, thicker rock or really old concrete that fights back. Mount this on the excavator and let the machine do the picking instead of your crew. Saves time and backs on a job where the material just won’t quit.
Step 2: Compact the Base
A foundation is only as good as the ground underneath it. Skip this step and you’re looking at cracks, shifting, and a callback nobody wants. The right compactor depends on the size and depth of what you’re prepping, so here’s how to pick.
Sheepsfoot Roller: Husqvarna LP9505 Trench Roller (Sheepsfoot Compactor)
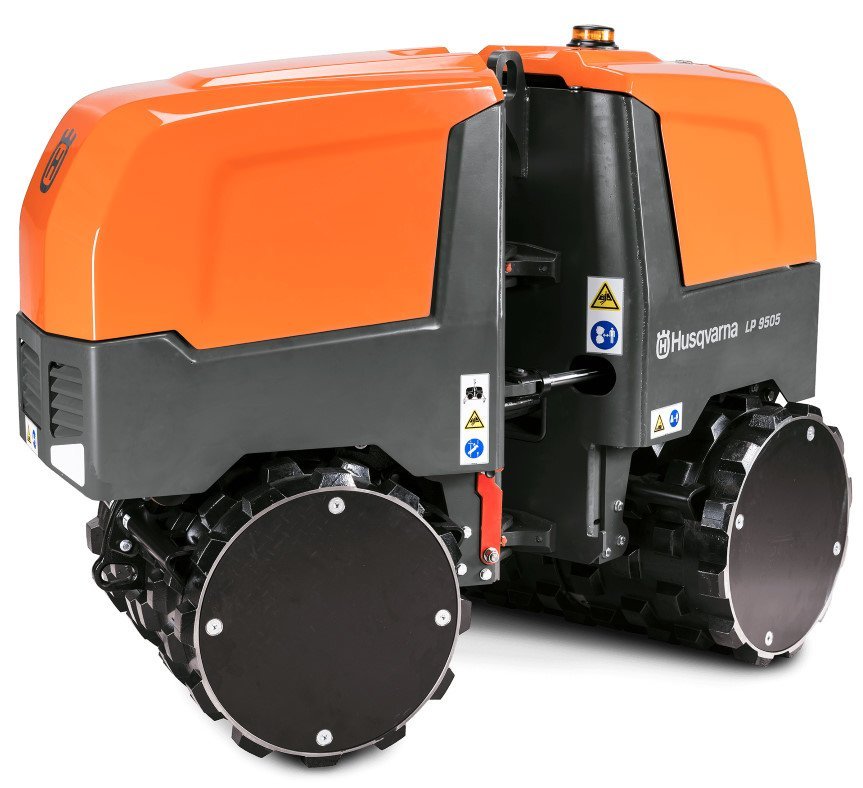
This is the one for rolling out the base of a dug-out foundation before concrete is poured. The sheepsfoot design digs into the soil rather than just pressing on top of it, which is what actually compacts a trench instead of just smoothing it over. It’s remote controlled, either by tether or radio, so nobody has to stand in the trench while it runs. That matters on a deeper dig where you don’t want a body down there next to a running compactor.
Jumping Jack Compactor: Husqvarna LT6005
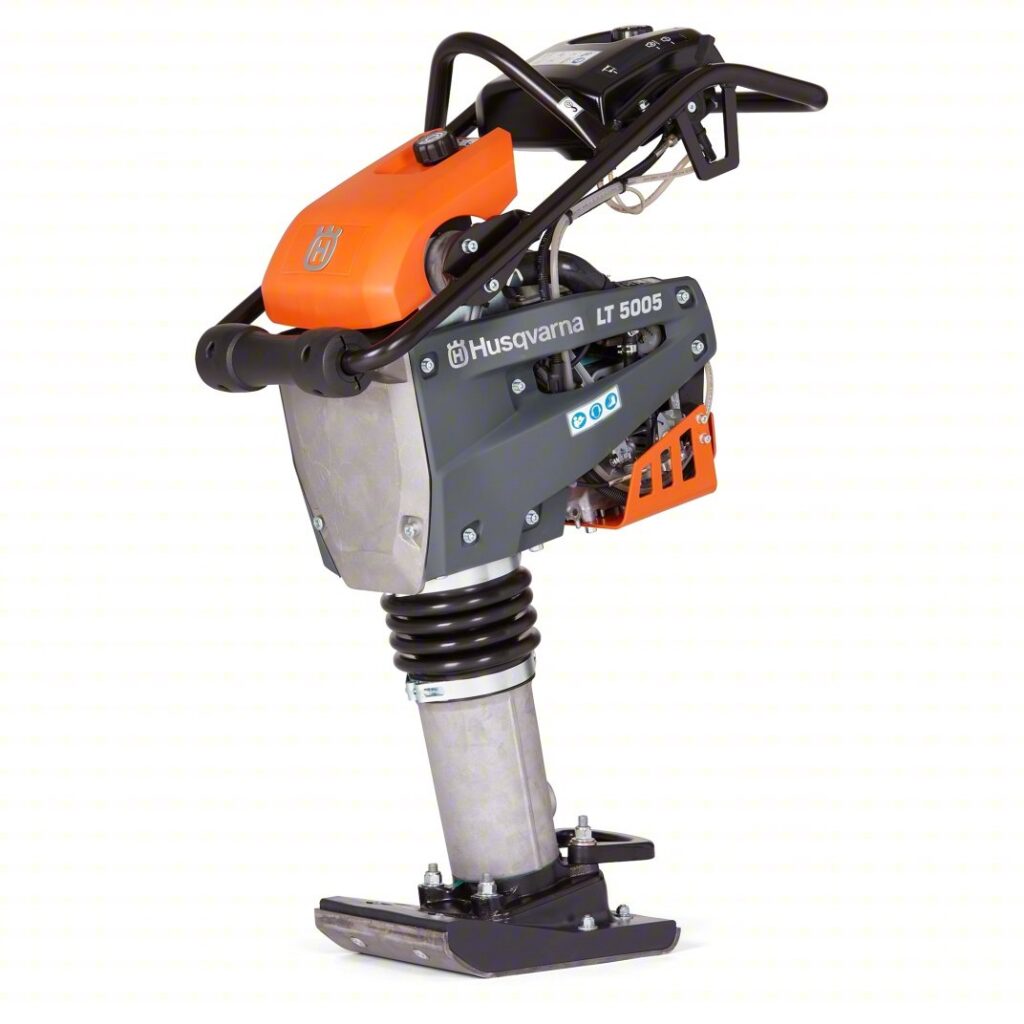
More compaction than a plate compactor, though not as uniform. If the foundation is smaller and shallower, this is what you’ll reach for instead of the sheepsfoot compactor. The jumping action gets deeper compaction in tighter spaces, so it’s the right call on smaller footings and narrow trenches where a bigger machine won’t fit or isn’t worth the setup.
Plate Compactor: Husqvarna LF100
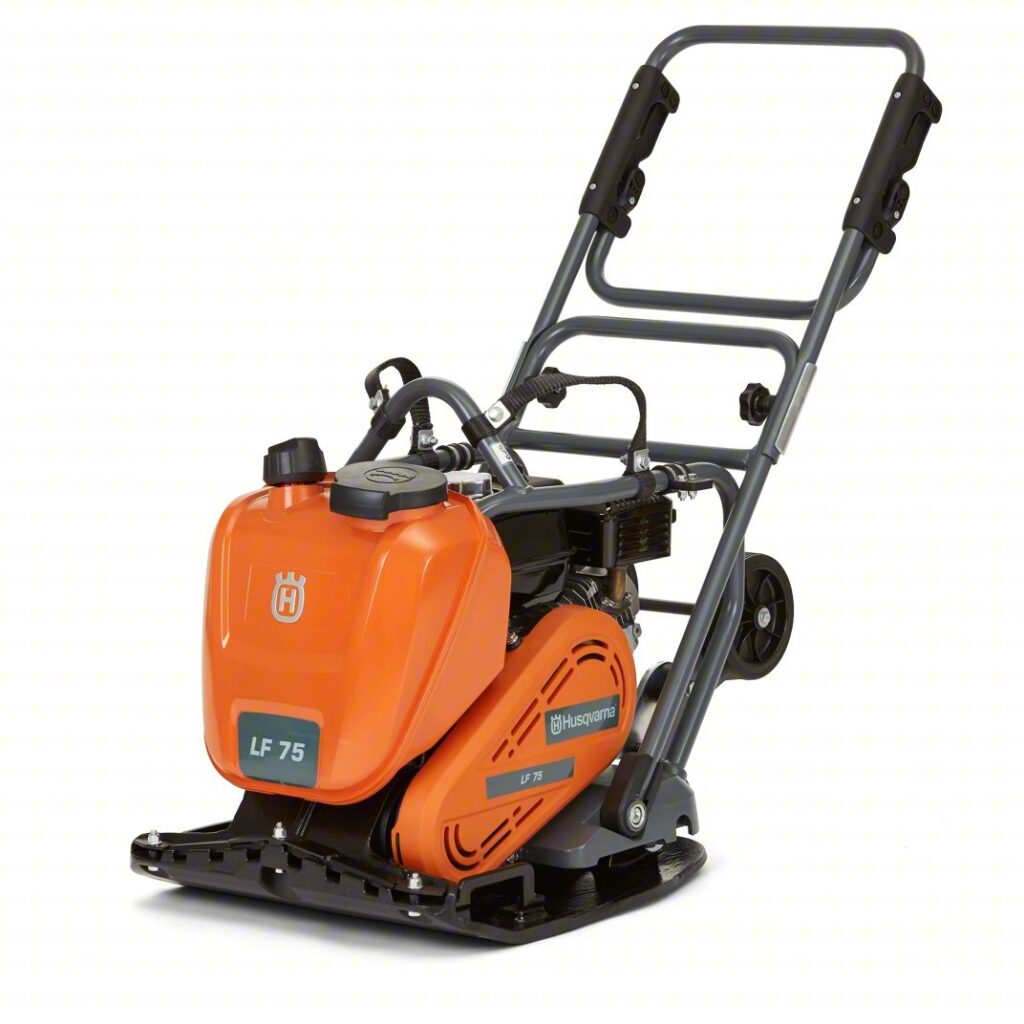
The standard plate compactor for a flat area where you’re pouring a slab, walkway, sidewalk, or anything like that. This is your everyday compactor for granular fill and flat prep work. If the job is a straightforward slab pour, this is the one that gets loaded on the trailer.
Large Plate Compactor: Husqvarna LG300
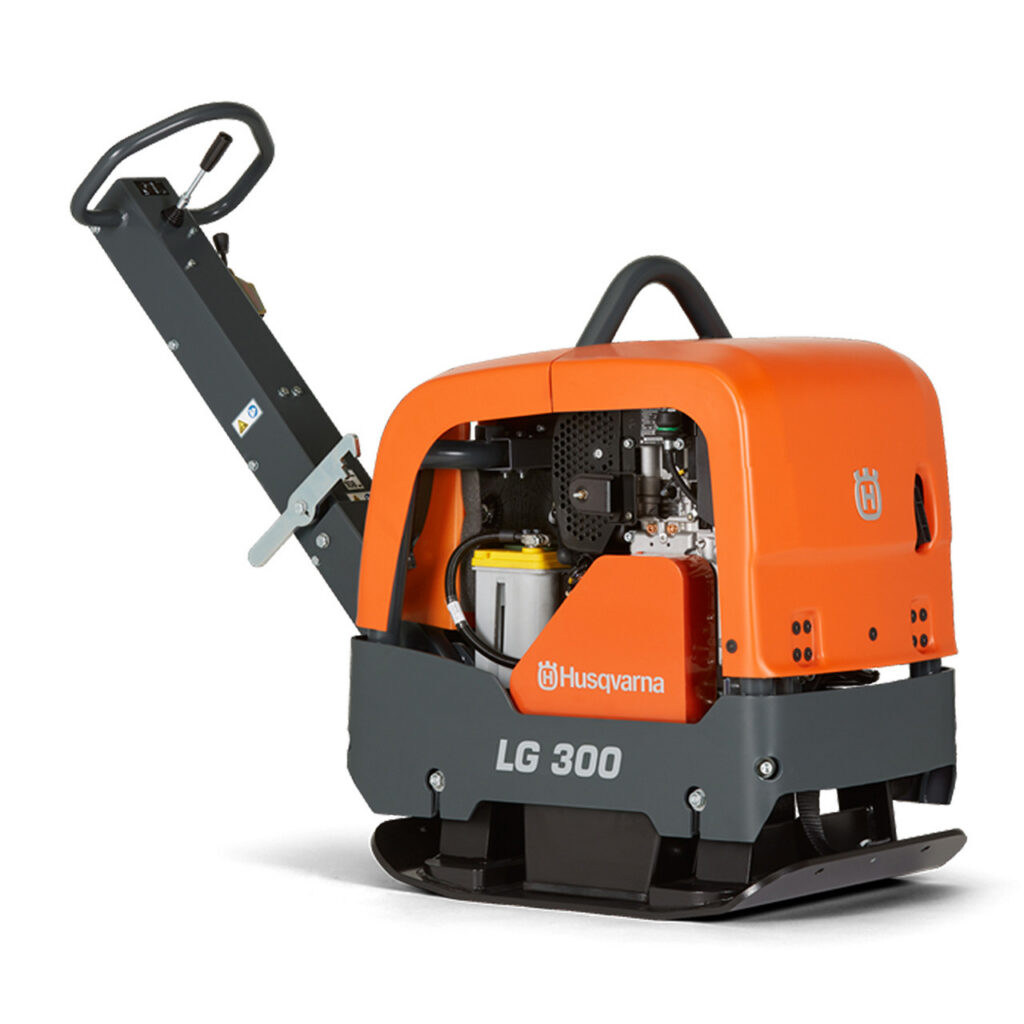
For slabs, or anywhere you can’t get a sheepsfoot in but still need a lot of compaction. This one handles a 12 inch lift at a time and runs forward and reverse, so you’re not muscling it around the site by hand. On a bigger slab where you’d otherwise be making pass after pass with a smaller machine, this one covers more ground per trip and saves you the extra passes.
Step 3: Pour
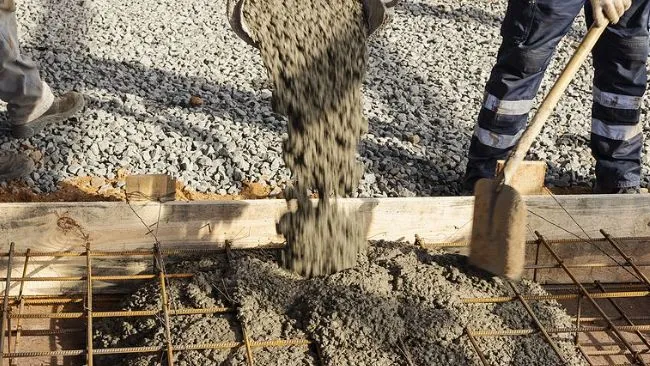
With the base compacted and the forms set, this is where the concrete goes in. Once it starts to set, the clock starts on your next step.
Step 4: Cut Your Joints
Cutting the right joints at the right time keeps that concrete from cracking on its own terms instead of yours. Start early, while the concrete is still green, then move to your standard saws as it cures. Timing the saw to the concrete’s age is the whole game here, so know which tool matches which stage.
Early Entry Saw: Norton GC55
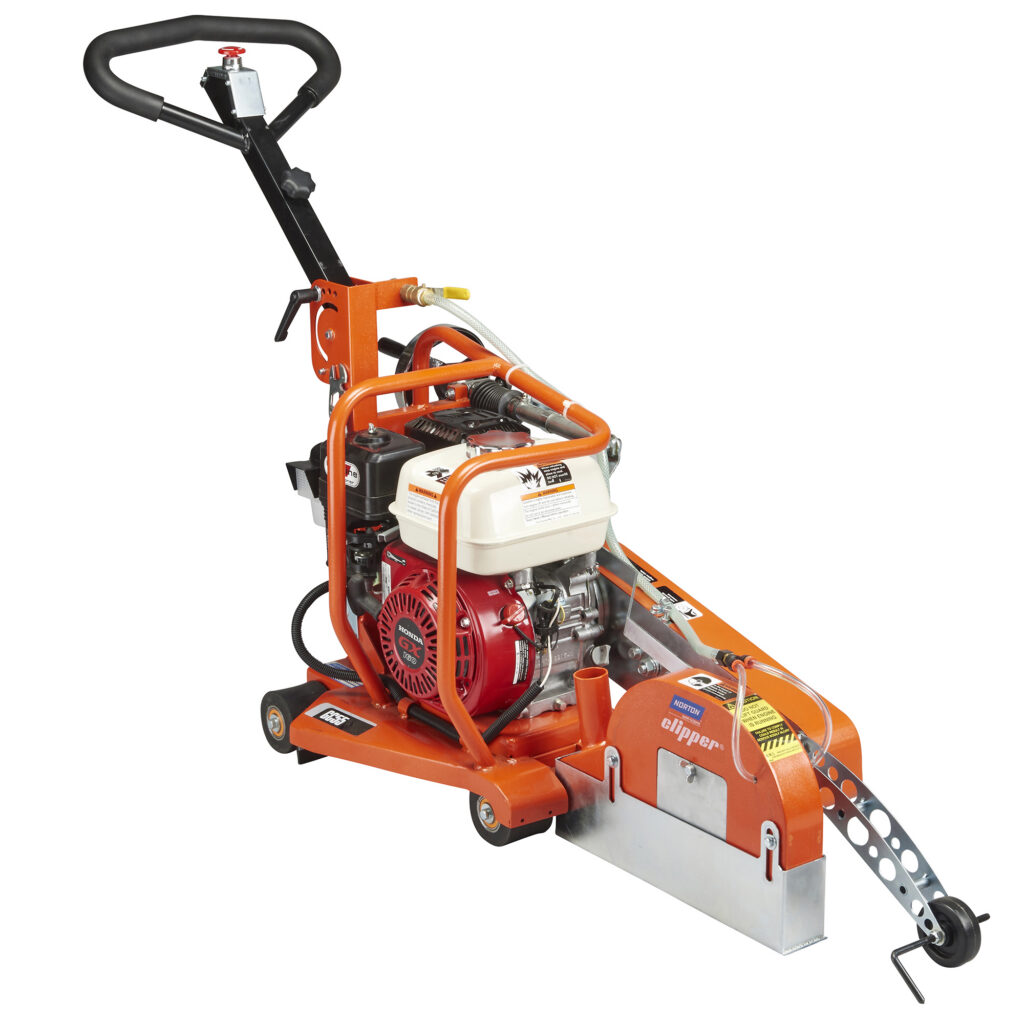
Specifically for green, freshly poured concrete. When you’re cutting your release and stress cuts, you don’t have to go as deep, and this saw is built specifically for that kind of cut, with a different style of blade meant for concrete that was poured yesterday. Cutting green concrete with a standard blade tears at the surface instead of scoring it clean, so this is the saw that keeps your control joints looking right from day one.
Husqvarna K970 and Stihl TS700
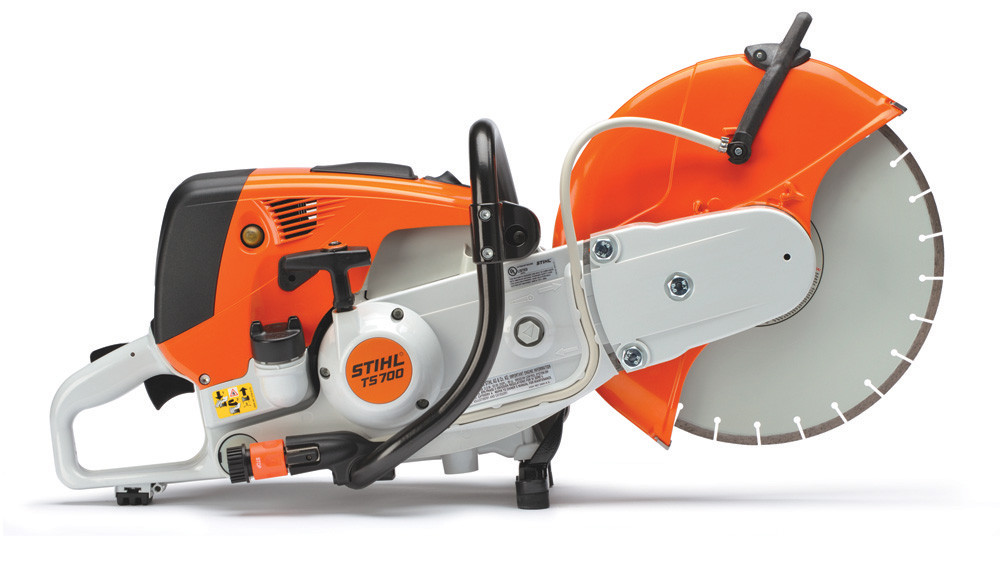
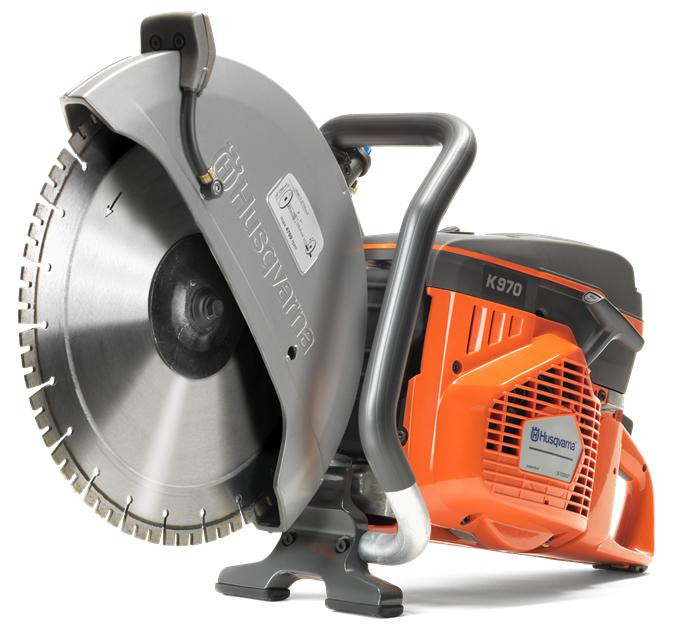
Both of these saws run a 14 inch concrete blade, made for stress and release cuts in foundations or sidewalks. The most depth you’ll get out of either one is 6 inches, so anything 6 inches or less, these will cut straight through. This is your workhorse pairing for the bulk of standard foundation and flatwork cutting once the concrete has cured past the green stage.
Cut and Break Saw: Husqvarna K3000
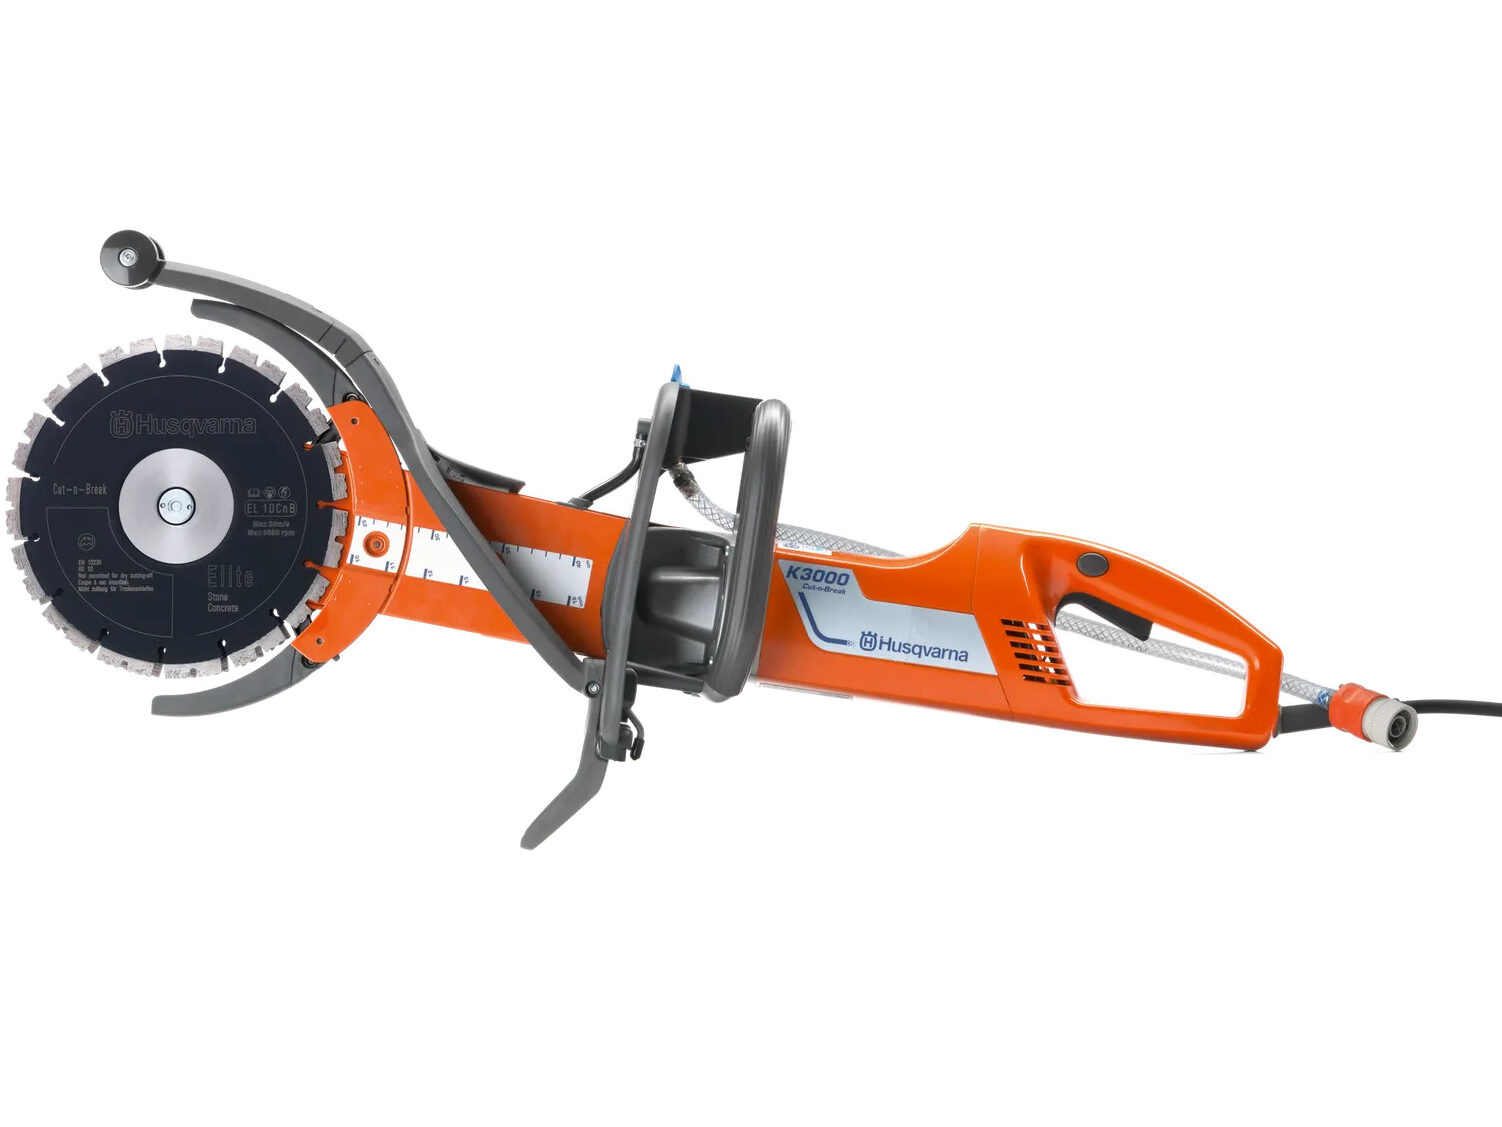
Electric, for cutting through stem walls when you’re working inside the building. Designed to cut all the way through a foundation wall, or any concrete deeper than 6 inches, this is the tool for cuts the K970 and TS700 can’t reach. Being electric also matters indoors, where you’re not trying to run a gas saw in a space without ventilation.
Walk-Behind Concrete Saw: Norton C14PEK
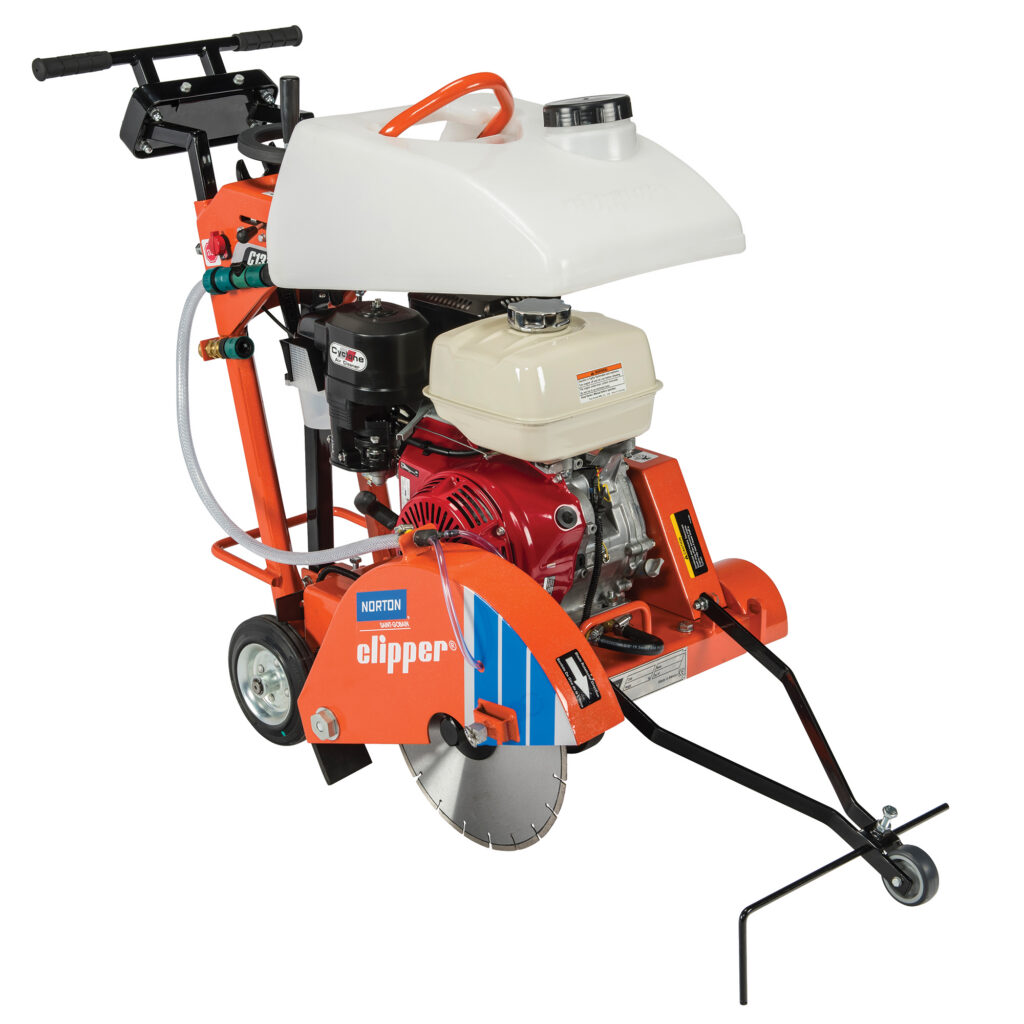
Runs up to a 20 inch blade for 9 inch deep cuts. If you’re doing driveways or roads, this is the saw that keeps your cuts straight over a long run, where a handheld saw would wander. The cut is about 2 inches wide, so if you’re laying electrical line into concrete, you can lay the wire right inside the cut and pour concrete back over it. That width is wide enough to work with, but tight enough that you’re not wasting material filling the gap back in.
Step 5: Drill For Plumbing and Rebar
Once the concrete has cured, running plumbing or rebar through a foundation wall calls for more than a standard drill. This is where bit size and hole depth decide which hammer drill actually makes sense for the job.
Makita 5212C
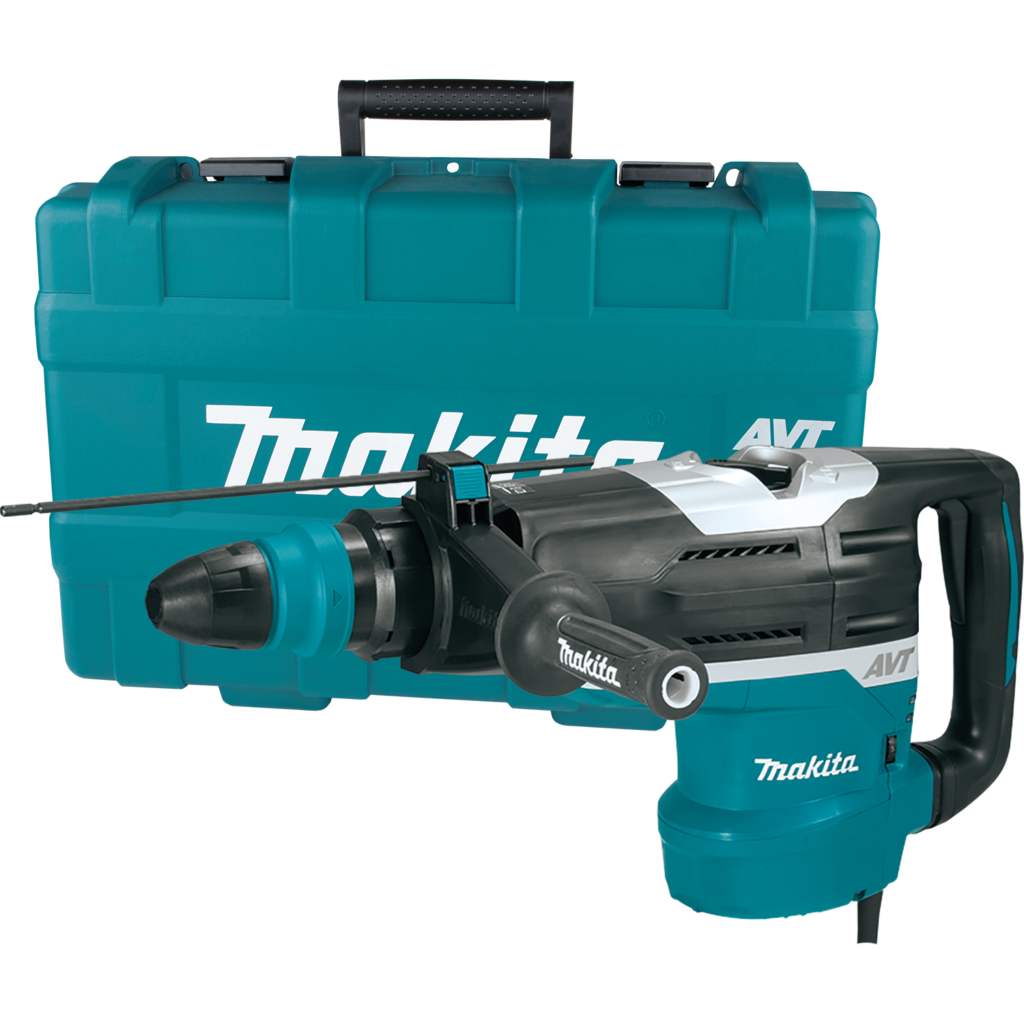
The larger hammer drill. Bigger bits, deeper holes. If you’re putting water lines through walls or foundations, we’ve got core bits to go all the way through for plumbing. It’s also the one to reach for when you’re drilling into foundation walls to add rebar for supports, where you need the extra power to get through cured concrete without burning up a smaller drill.
Makita 4013C
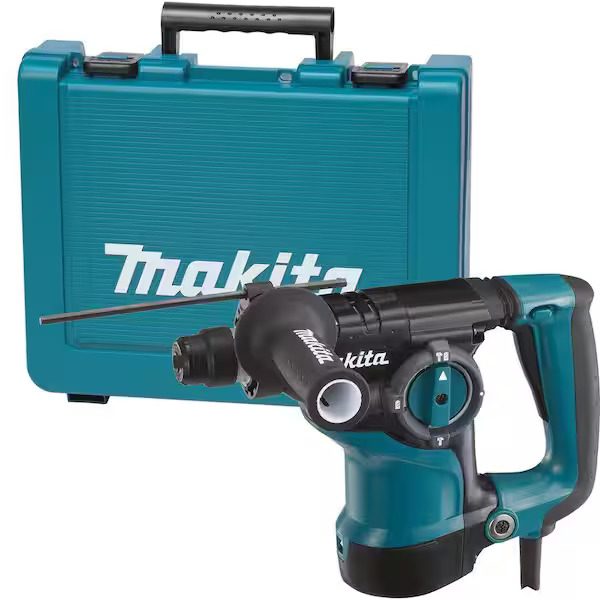
Same use cases as the 5212C, just a smaller size. It comes down to what size hole you need. If you’re drilling smaller diameter holes or working somewhere tighter where the bigger drill is more machine than you need, this is the one to grab instead.
Rent This Equipment From Ted’s
Every piece of equipment covered above is available to rent from Ted’s. Send us a rental request, call, or text and we’ll confirm availability before you head over.
HM1812 Makita 70 lb. Jackhammer
Breaking walls, sidewalks, driveways, rock, and roots.
Rent This Equipment →Toku TNB-2M Excavator-Mounted Jackhammer
Mounts on the Kato 17 Excavator for bigger, thicker breaking jobs.
Rent This Equipment →Kato 17 Excavator
Digs the foundation and mounts the TNB-2M jackhammer attachment.
Rent This Equipment →Husqvarna LP9505 Sheepsfoot Trench Roller
Remote-controlled compaction for the base of a dug-out foundation.
Rent This Equipment →Husqvarna LT6005 Jumping Jack Compactor
More compaction than a plate compactor for smaller, shallower foundations.
Rent This Equipment →Husqvarna LF100 Plate Compactor
The standard for flat areas: slabs, walkways, and sidewalks.
Rent This Equipment →Husqvarna LG300 Large Plate Compactor
Handles a 12 inch lift at a time for slabs where a sheepsfoot won’t fit.
Rent This Equipment →Norton GC55 Early Entry Saw
Built specifically for cutting green, freshly poured concrete.
Rent This Equipment →Husqvarna K970 / Stihl TS700 Concrete Cutting Saws
14 inch blades for stress and release cuts up to 6 inches deep.
Rent This Equipment →Husqvarna K3000 Cut and Break Saw
Electric saw for stem walls and cuts deeper than 6 inches.
Rent This Equipment →Norton C14PEK Walk-Behind Concrete Saw
Up to a 20 inch blade for 9 inch deep cuts in driveways and roads.
Rent This Equipment →Makita 5212C Hammer Drill
The larger hammer drill for plumbing lines and rebar into foundation walls.
Rent This Equipment →Makita 4013C Hammer Drill
Same use cases as the 5212C, in a smaller size for smaller holes.
Rent This Equipment →Your Partner in Every Project
Breaking, compacting, cutting, and drilling. We stock the equipment for every stage of a foundation pour, fueled up and ready before you show up at 6:30 in the morning. We’re open an hour earlier, an hour later, and a day longer than anyone else in town, with deep enough inventory to keep more than one crew running and delivery across La Plata County if you’d rather we bring it to you.
You can trust Ted’s to have the right tool ready when the job calls for it. That’s what a partner does.
Give us a call, text, or stop by. We’ll help you line up the right equipment before the truck ever leaves the yard.
📍 999 College Drive, Durango, CO 81301 |
🕒 Mon–Sat: 7am–6pm | Sun: Closed |
📞 (970) 247-2930
Ted’s — Your Partner in Every Project.
Related Posts