
The key to successful floor sanding is working in the right order and taking your time with each phase. From gathering equipment to prepping for stain or finish, each step builds on the last. Here is a practical seven-step guide to help you sand your hardwood floors with more confidence.
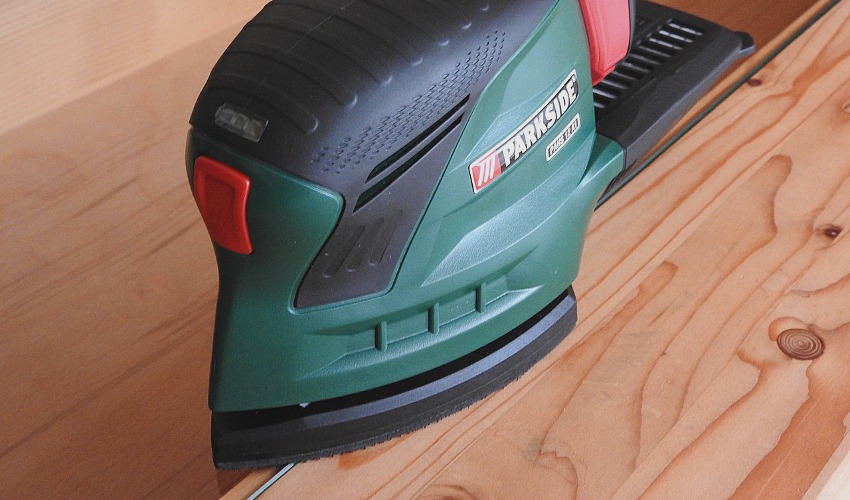
Step 1: Rent the Right Sanding Equipment
Start by renting the equipment you will need for the full project. For most hardwood floor jobs, that means a drum sander for the main floor area and an edge sander for the perimeter. You will also want sandpaper in coarse, medium, and fine grits, usually 36, 60, and 80 grit, so you can remove the old finish gradually and leave the wood ready for the next stage.
Step 2: Prep the Room Carefully
Before sanding begins, completely clear the room and seal off openings with plastic drop cloths to help contain dust. This is also the time to inspect the floor for exposed nails or staples and make sure they are set below the surface. Proper prep protects your equipment and gives you a cleaner, safer work area.
“Good floor sanding starts long before the sander touches the wood. Preparation makes the rest of the project easier.”
Step 3: Start Sanding With Coarse Grit
Begin sanding with the coarsest grit to remove old finish, scratches, and surface wear. Use the drum sander on the open floor and keep it moving with the grain to avoid gouges or uneven lines. This first pass does the heavy removal work, so move steadily and pay close attention to the machine as you go.
Step 4: Sand the Edges and Tight Areas
Once the main floor area is complete, use the edge sander along walls, corners, and other hard-to-reach spots. These areas are easy to overlook, but blending them with the rest of the floor is important for a consistent finish. Some corners may still need to be finished by hand for the best result.
Step 5: Repeat With Medium and Fine Grits
After the coarse sanding pass, repeat the process using medium grit and then fine grit sandpaper. Each step smooths out the scratches left by the previous pass and brings the wood closer to a clean, even finish. Rushing through the grit progression can leave visible sanding marks, so it is worth taking the time to do each stage thoroughly.
Step 6: Fill Holes and Clean the Floor
Once sanding is complete, fill nail holes, cracks, or minor imperfections with wood putty if needed. Then vacuum the entire floor carefully and wipe it down to remove every bit of remaining dust. This step is essential before applying stain or finish because dust can affect the final appearance of the wood.
“Clean floors lead to cleaner finishes. Taking time to vacuum thoroughly can make a noticeable difference in the final result.”
Step 7: Prepare for Stain or Finish
After the floor is smooth and dust-free, you are ready for the finishing stage. Whether you plan to stain the wood or apply a clear protective coat, preparation matters. Make sure your room is clean, your materials are ready, and your floor is fully prepped before moving on to the final step of your refinishing project.
Helpful Tips for a Better Floor Sanding Project
Floor sanding is one of those projects where a little extra care goes a long way. Good technique, proper safety gear, and the right materials can help you avoid common mistakes and get a more professional-looking result. If this is your first time sanding hardwood floors, slowing down and staying organized can make the process much less intimidating.
Always sand with the grain whenever possible, and keep the machine moving to prevent grooves or uneven patches. Wear a dust mask, ear plugs, and eye protection throughout the job, especially during the heavier sanding passes. It is also smart to have your sandpaper, wood putty, vacuum, and finishing supplies ready before you begin so you do not lose time in the middle of the project.
Helpful Products for Floor Sanding
Having the right supplies on hand can make sanding and refinishing much easier. Consider picking up these useful products:
• Drum and edge sander rentals
• 36, 60, and 80 grit sandpaper
• Plastic drop cloths
• Dust masks and ear plugs
• Eye protection and safety gear
• Wood putty for minor repairs
• Vacuum and cleanup supplies
• Wood stain and floor finish
Sanding your hardwood floors takes effort, but it is a rewarding way to refresh your home and bring new life to worn wood surfaces. With the right rental equipment, proper prep, and a careful step-by-step approach, you can achieve results you will be proud of.
📍 999 College Drive, Durango, CO 81301 |
🕒 Mon–Sat: 7am–6pm | Sun: Closed |
📞 (970) 247-2930
Ted’s — Your Partner in Every Project.